
Classic Apple Pie Bars with Cinnamon Streusel
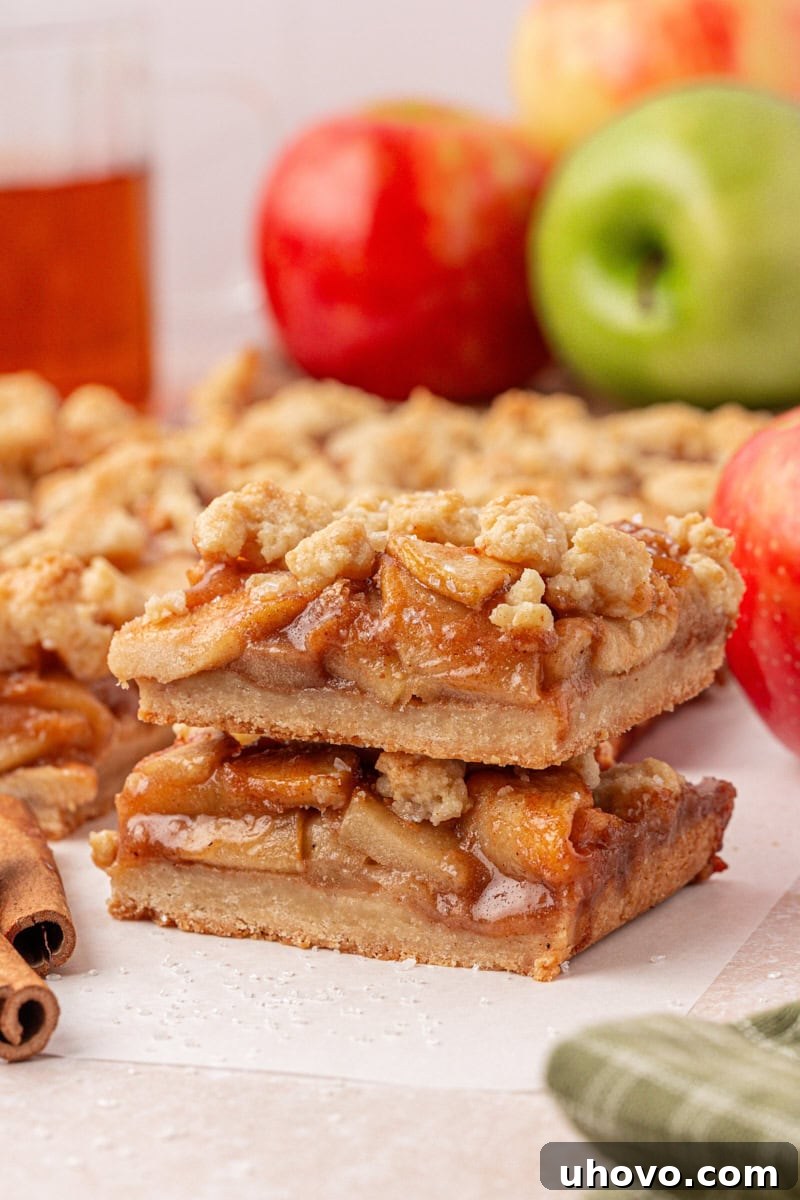
These apple pie bars stack warmly spiced apples between a tender, buttery press-in crust and a crumbly, golden topping. They deliver the comforting flavor of apple pie in an easy-to-share 9×13 pan—ideal for fall baking, potlucks, and holiday desserts.
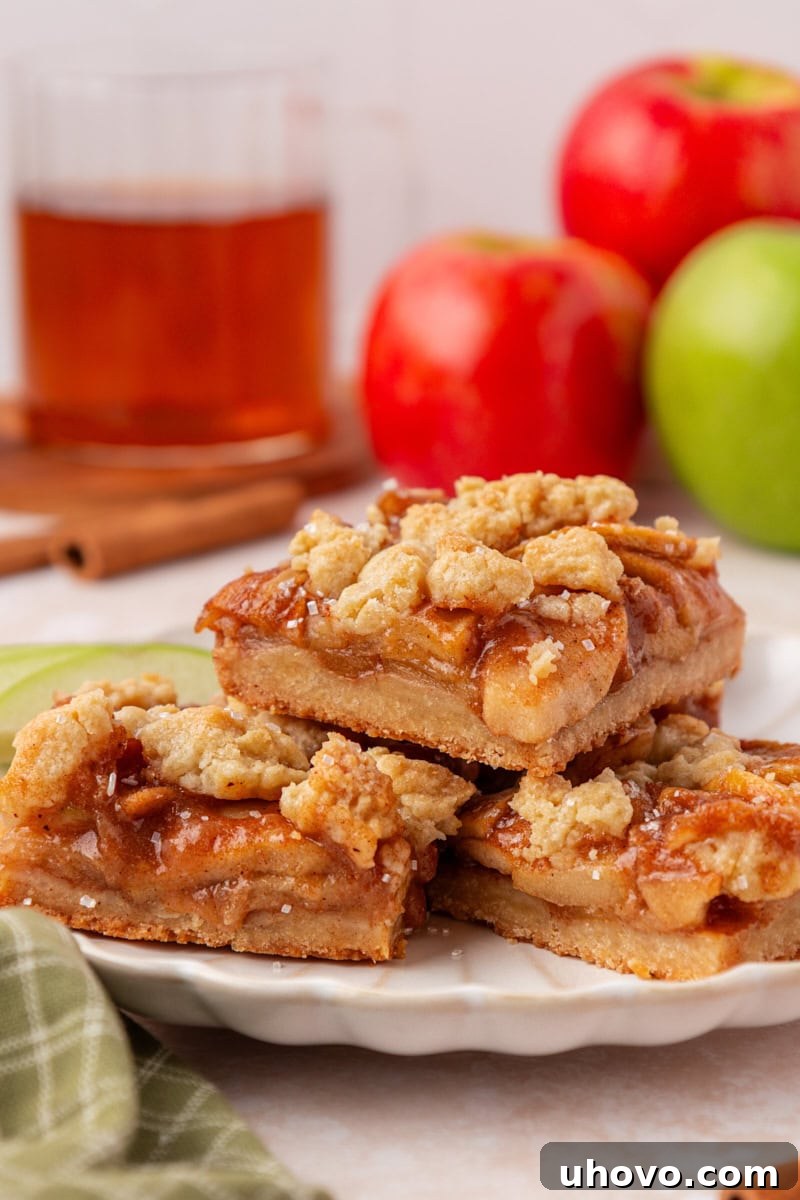
I expected to enjoy these apple pie bars, but they quickly became a favorite. They capture all the satisfying elements of classic apple pie—plenty of apple filling, warm spices, and a rich buttery base—but in a simpler, sliceable form that’s easier to serve and share.
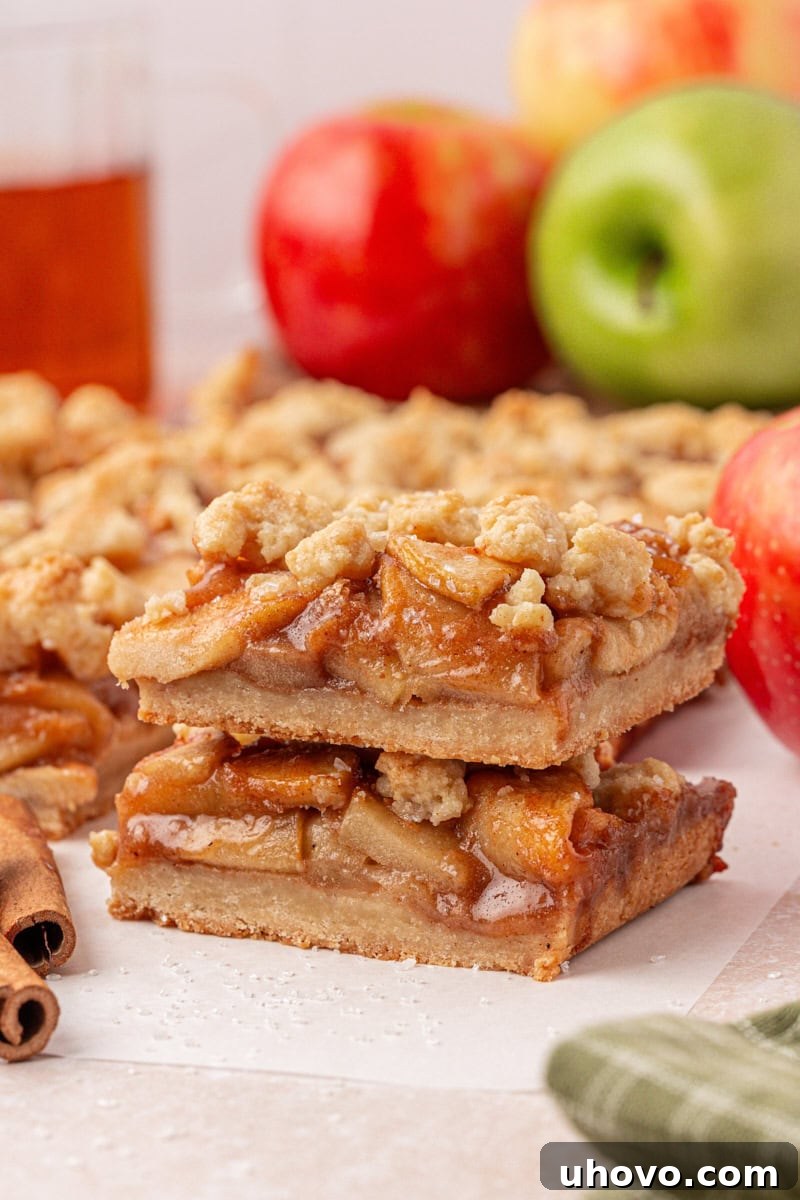
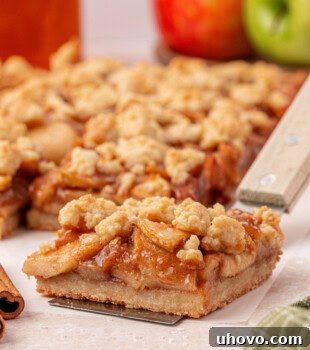
A thick layer of cinnamon-scented apples sits on a sturdy press-in crust, finished with crumbles of the same buttery dough. A few thoughtful ingredients in the filling amplify the apple flavor, while the crust’s texture keeps the bars hearty without being heavy.
Why You’ll Love These Apple Pie Bars
- Apple-forward: Three pounds of apples ensure the filling is the star, not the crust.
- Layered flavor: A blend of sweet and tart apples, plus brown sugar, lemon, apple cider, and optional apple butter, creates depth in the filling.
- Buttery, dependable crust: The press-in dough is rich and sturdy enough to hold the filling while remaining tender.
- Dual-purpose dough: One dough forms both the base and the crumbly topping, keeping the recipe simple.
- Built for sharing: Baked in a 9×13 pan, these bars travel and slice well for gatherings.
The Secret Is in the Apple Filling
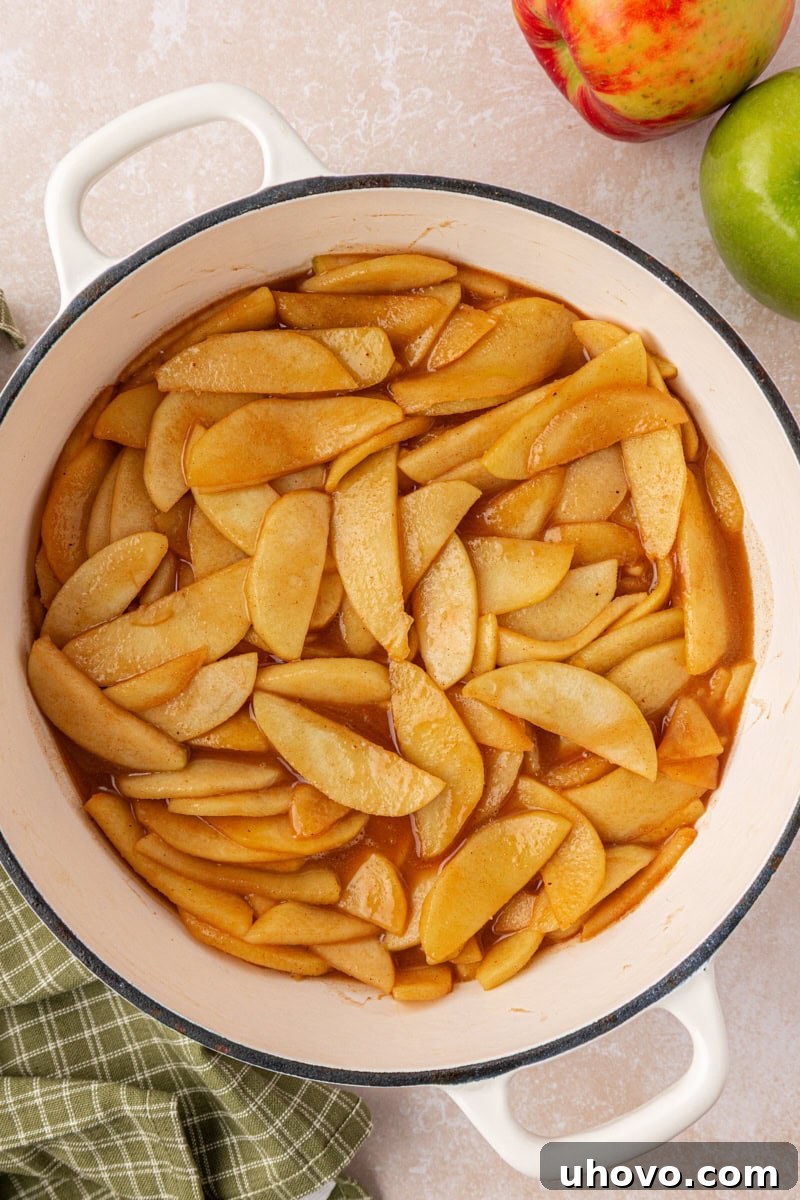
These bars use about three pounds of apples—roughly six to eight medium apples—so the filling dominates each bite the way apple pie should. I prefer a mix of sweet and tart varieties, such as Honeycrisp and Granny Smith, because combining apples adds complexity and balance.
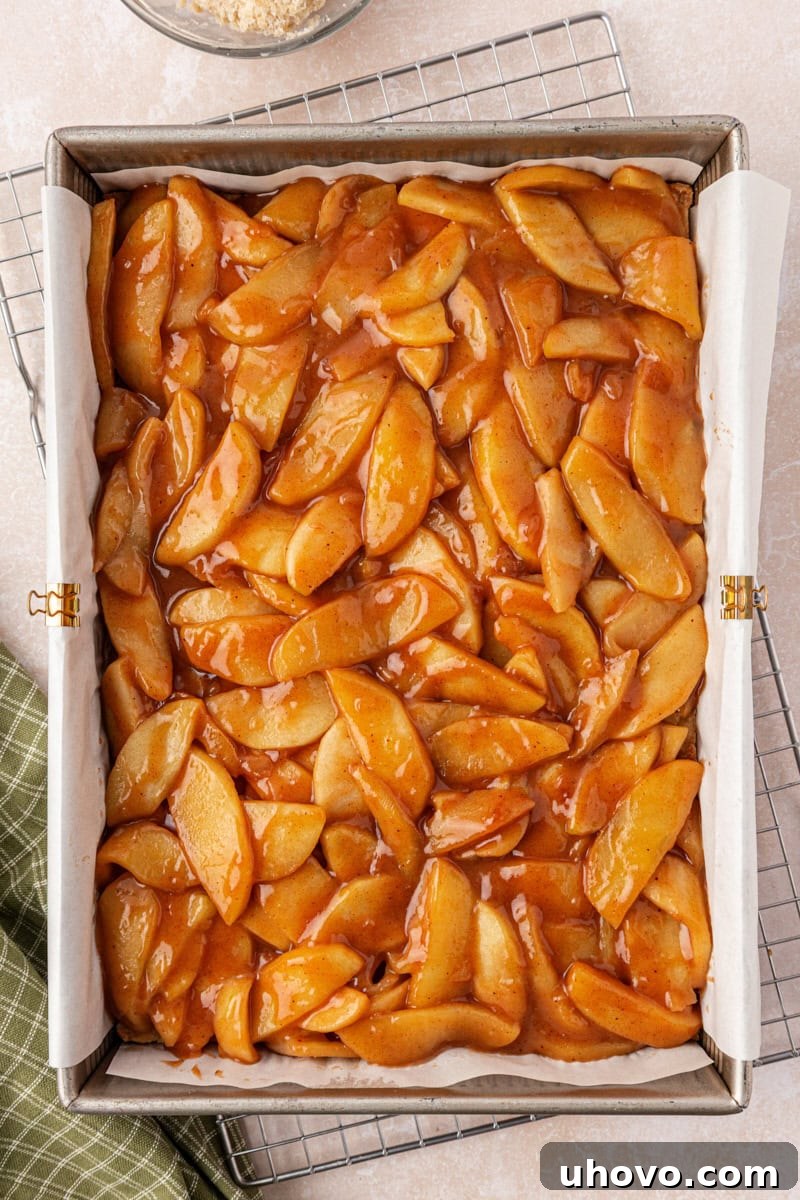
The apples are briefly cooked on the stovetop before assembly. This softens them slightly and allows the brown sugar, butter, cinnamon, nutmeg, and lemon to meld without turning the slices into mush. Apple cider adds another layer of apple flavor, but if you don’t have cider, water works fine. Cornstarch is used to thicken the juices so the bars hold their shape when sliced. If you have apple butter, a tablespoon or two can deepen the apple flavor; it’s optional but effective.
A Buttery Crust That’s Easy to Handle
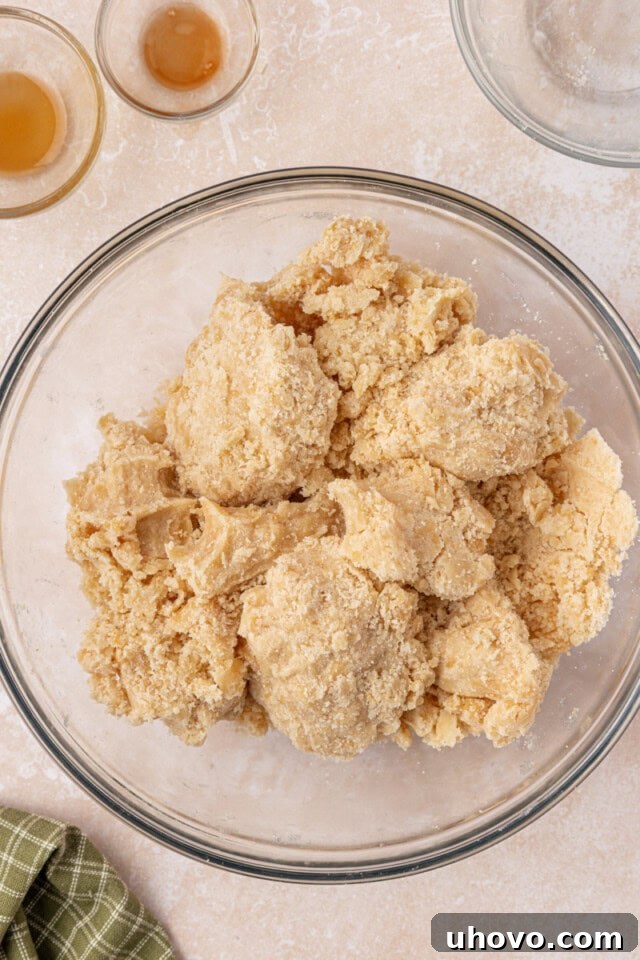
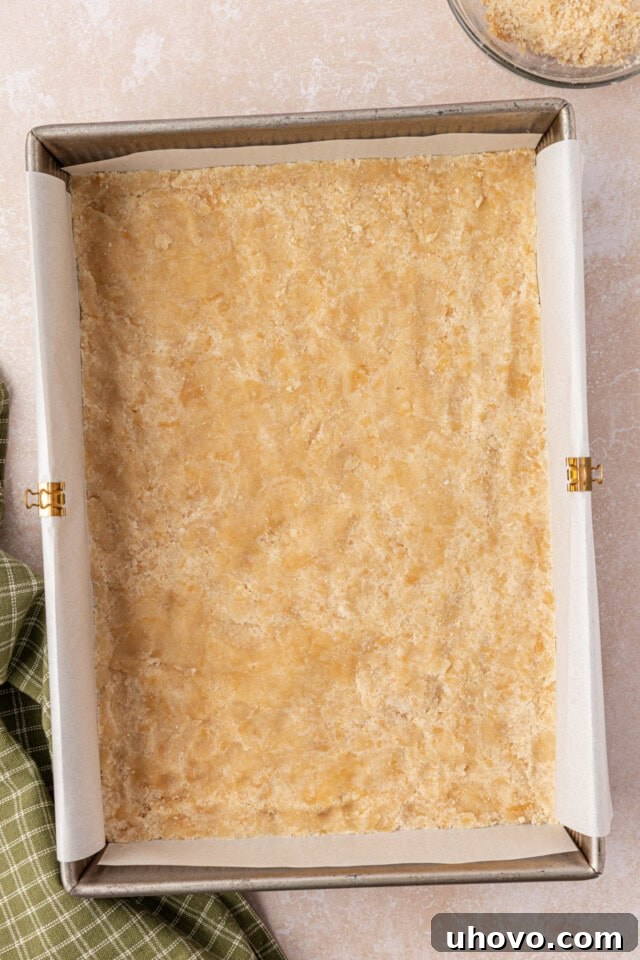
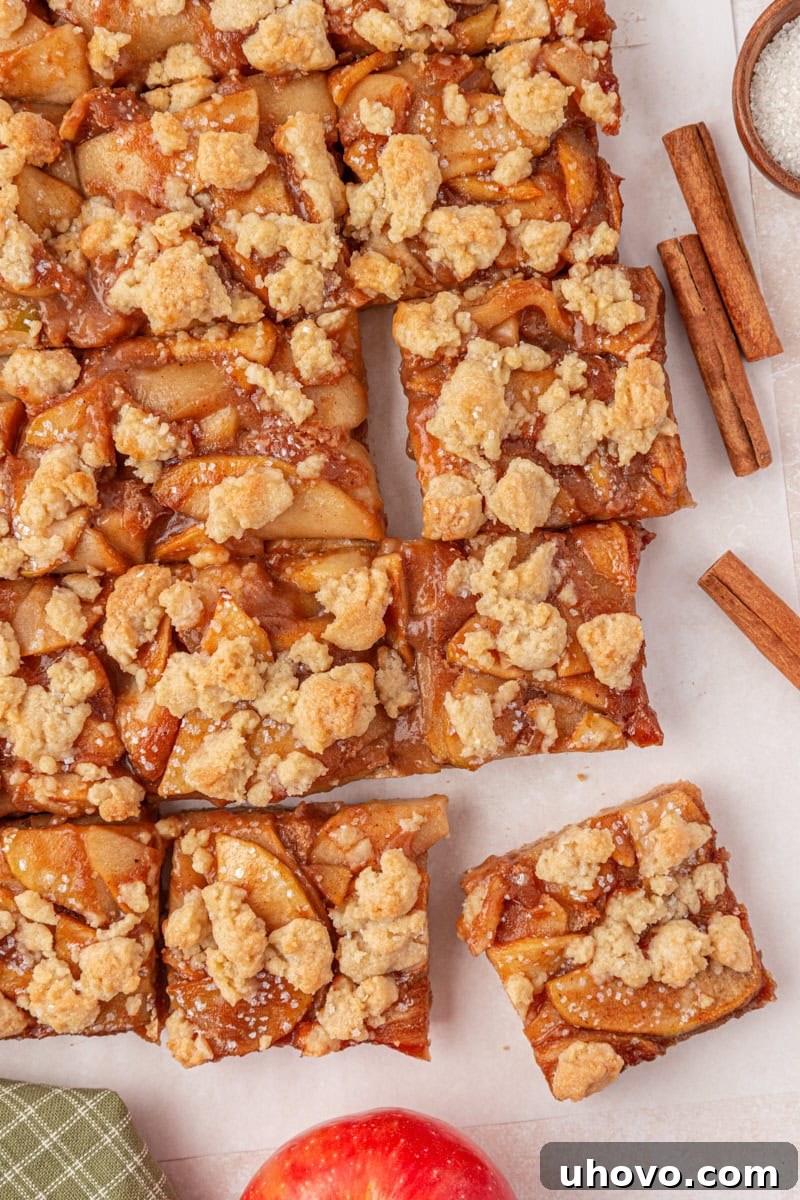
The crust texture sits between shortbread and a press-in pie dough. An egg yolk adds richness and helps the dough hold together so you can press it into the pan—no rolling required. You’ll set aside about a third of the dough to crumble over the apple layer after a short pre-bake. The uneven crumb topping and glimpses of filling through the crust contribute to the bars’ rustic appeal.
Tips for Success
- Slice apples consistently: Aim for 1/4-inch slices so the fruit cooks evenly.
- Don’t overcook on the stovetop: Cook the apples just until they start to soften; they finish in the oven.
- Check the dough’s texture: It should form soft clumps and hold together when squeezed, but not be sticky—this makes it easy to press into an even crust.
- Cool before cutting: Let the bars cool completely so the filling sets. For neater slices, chill them in the refrigerator for an hour or two before cutting.
- Embrace imperfect topping: The crumb doesn’t need to cover every apple; exposed filling bubbles up and looks inviting once baked.
How to Store
Room temperature: Keep the bars in an airtight container at room temperature up to 2 days.
Refrigerator: Store in an airtight container for up to 5 days. Bring to room temperature or warm briefly before serving.
Freezer: Wrap well and freeze in a freezer-safe container for up to 3 months. Thaw overnight in the refrigerator or for a few hours at room temperature. The crust may soften slightly after freezing, and the bars are often easier to eat with a fork.
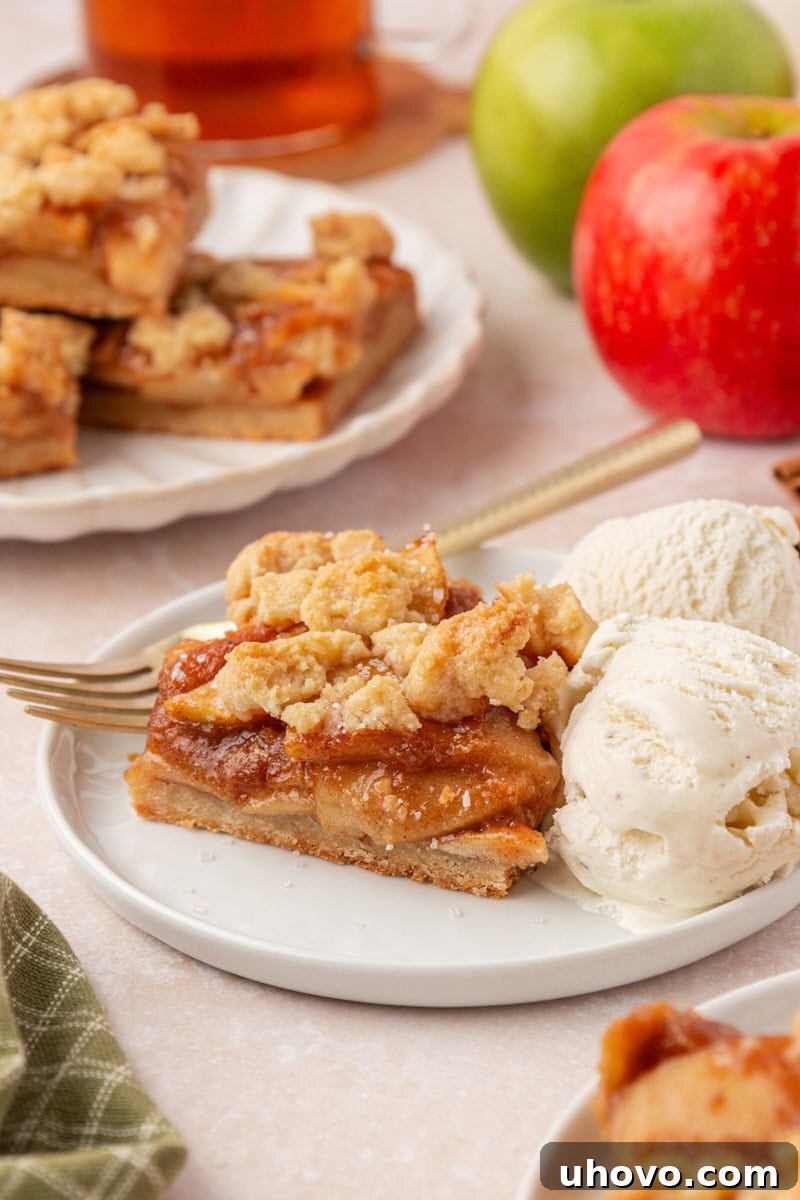
Serving Apple Pie Bars
These bars are delicious at room temperature or slightly warm. For a classic dessert pairing, warm a bar and add a scoop of vanilla ice cream. The contrast of buttery crust, warmly spiced apples, and cold ice cream is delightful and elevates these bars into a special dessert for guests.
Although they’re simpler to make and serve than a whole apple pie, these bars deliver the same comforting flavors and can feel just as festive on any dessert table.
More Apple Recipes

Apple Cupcakes
German Apple Cake
Apple Crumb Cookies
Apple Crumb Sheet Cake
Apple Pie Bars
Ingredients
For the crust & topping:
- 3 cups (360 g) all-purpose flour
- 1 cup (200 g) granulated sugar
- 1 teaspoon salt
- 1 cup (226 g) unsalted butter, cold and cut into cubes
- 1 large egg yolk
- 2 teaspoons vanilla extract
For the filling:
- ¼ cup (56 g) unsalted butter
- 3 pounds apples, about 6 to 8 medium, peeled, cored, & sliced 1/4-inch thick (preferably a mix of sweet and tart)
- ⅔ cup (133 g) firmly packed light brown sugar
- 2 teaspoons ground cinnamon
- ¼ teaspoon ground nutmeg
- ¼ teaspoon salt
- 2 teaspoons lemon juice
- 2 tablespoons apple butter, optional
- 2 tablespoons cornstarch
- 2 tablespoons apple cider or water
- coarse sanding sugar, for finishing
Instructions
To make the crust & topping:
-
Preheat the oven to 350°F (175°C). Grease a 9×13-inch pan and line it with parchment, leaving an overhang on the long sides.
-
Whisk together the flour, sugar, and salt in a medium bowl.
-
Cut in the butter using a pastry blender, fork, or your fingers until the mixture forms coarse crumbs with some pea-sized pieces.
-
Stir together the egg yolk and vanilla, then work them into the flour mixture until soft clumps form. The dough should come together when squeezed but not be sticky.
-
Reserve about one-third of the dough for the topping and refrigerate it while you prepare the crust.
-
Press the remaining dough evenly into the prepared pan.
-
Bake for 18 to 22 minutes, until the crust looks set and the edges begin to color.
To make the filling:
-
While the crust bakes, melt the butter in a large skillet over medium heat.
-
Add the apples, brown sugar, cinnamon, nutmeg, salt, and lemon juice.
-
Cook about 6 to 8 minutes, stirring occasionally, until the apples begin to soften but still hold their shape.
-
If using, stir in apple butter.
-
Whisk the cornstarch with the apple cider or water until smooth, then stir into the apples. Cook 1 to 2 minutes more until glossy and slightly thickened.
-
Remove from heat and let cool about 5 minutes before assembling.
To assemble and bake:
-
Spread the apple filling evenly over the warm crust.
-
Crumble the reserved dough over the apples; it doesn’t need to completely cover the filling.
-
Sprinkle generously with coarse sanding sugar.
-
Bake 35 to 40 minutes, until the topping is golden, the filling is bubbling at the edges, and the center no longer looks wet.
-
Cool completely in the pan. For the cleanest slices, refrigerate 1 to 2 hours before cutting.
-
Serve at room temperature or slightly warm.
Notes
- Apples: Use a mix of sweet and tart apples for the best balance—Honeycrisp and Granny Smith work well together.
- Apple cider: Use cider for extra apple flavor, but water is a suitable substitute.
- Apple butter: Optional, but it deepens the apple flavor if you have it on hand.
- Servings: The recipe yields 15 generous bars. For parties, cut smaller to make 20–24 pieces.
- For neat slices: Cool completely and refrigerate briefly before cutting for the cleanest results.